

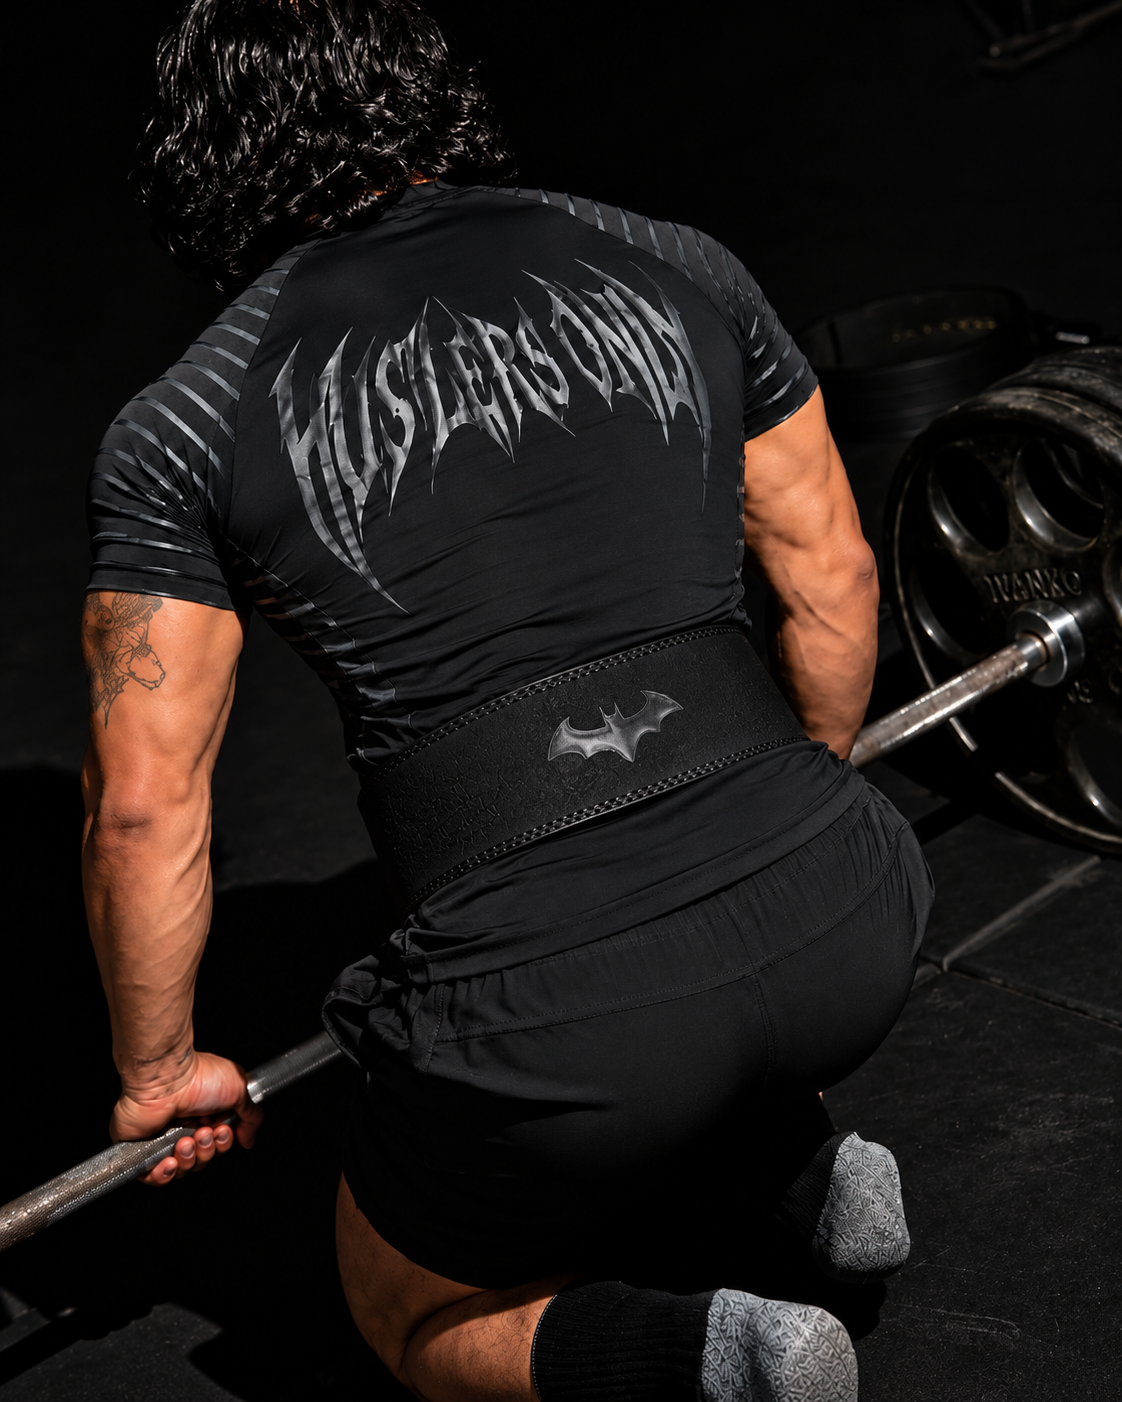
A weightlifting belt only helps if you wear it properly. Too loose and it does nothing; in the wrong spot it digs in and gets in the way. This guide covers how to pick the right size, where to position the belt, how tight it should be, how to brace into it, and when you actually need one.
Step 1: Get the right size
Belt sizes are based on your waist measurement where the belt sits, not your trouser size.
- Wrap a soft measuring tape around your waist between your ribs and hips, roughly at your belly button.
- Pull the tape snug and note the measurement in inches.
- Match it to the size chart on the product page.
Our leather lever and prong belts use these waist ranges:
| Size | Waist (inches) |
|---|---|
| XS | 21–25 |
| S | 25–30 |
| M | 30–34 |
| L | 34–38 |
| XL | 37–42 |
Not every size is available in every design, so check the product page. If you plan to wear the belt over a hoodie or thick top in winter, measure over that layer.
Step 2: Position it correctly
- Squats: most lifters wear the belt around the belly button, covering the front of the abdomen and the lower back.
- Deadlifts: many lifters move the belt slightly higher or slightly lower than for squats so it doesn't jam into the ribs or hips at the bottom position.
- Overhead press: wear it where it feels most stable without pushing into your ribs.
There's no single perfect spot. Try a few positions with lighter weights and use the one where you can brace hardest without the belt digging in.
Step 3: Set the tightness
The belt should be tight enough that you can push your stomach out into it, but not so tight that you can't take a full breath. A common test is to slide your flat hand between the belt and your stomach: it should just fit when you're relaxed, and the belt should feel very firm once you brace.
- Lever belts lock to the same tightness every time. To change it, you move the buckle with a screwdriver. Our suede lever belts have 13 screw holes one inch apart.
- Prong belts can be adjusted between sets by changing holes. Some lifters go one hole looser for deadlifts.
- Self-locking nylon belts can be pulled to any tightness and locked.
Step 4: Brace into the belt
The belt doesn't do the work for you. It gives your core something to push against. Here's how to brace:
- Take a big breath into your stomach, not your chest.
- Hold it and tighten your whole midsection, as if you're about to be punched.
- Push your stomach and sides out into the belt, all the way round.
- Keep the brace through the rep, then reset your breath before the next one.
Research shows this is what belts do best. Studies have found that wearing a belt raises the pressure inside the abdomen during squats, and that belted squats can be performed faster. That extra pressure helps keep your torso rigid under load.
When should you wear a weightlifting belt?
- Heavy compound lifts: squats, deadlifts, overhead presses and heavy rows, especially on your hardest working sets.
- Near-maximum sets or attempts: when you're testing a max or lifting heavy for low reps.
- High-rep heavy sets where fatigue makes it harder to hold your brace.
When you don't need one
- Warm-up sets and light weights
- Machine work, isolation exercises and most upper-body accessories
- Cardio, or walking around the gym between sets
Many lifters train their lighter sets without a belt so they keep building core strength and bracing skill on their own, then put it on for the heaviest sets.
What a belt won't do
- Fix bad technique. If your form breaks down, lower the weight.
- Guarantee you won't get hurt. Research hasn't shown that belts prevent injuries on their own. Workplace back belts, for example, are not recommended by NIOSH for injury prevention because the evidence doesn't support it.
- Replace core training. Planks, carries and unbelted lifting still matter.
A note on blood pressure: bracing and wearing a belt both raise blood pressure during a lift. If you have high blood pressure or a heart condition, speak to your doctor before lifting heavy with a belt.
Breaking in a leather belt
A new leather belt feels stiff at first. It softens and moulds to your body with use:
- Wear it for your warm-ups and working sets for the first few sessions.
- Roll it up gently in both directions when you're not using it to loosen the leather.
- Don't soak it or use heat to soften it, which can damage the leather.
Caring for your belt
- Wipe the leather with a damp, soapy cloth, then polish it with a cloth rinsed in plain water.
- Dry it with a dry cloth and let it air dry. Avoid heat and hair dryers.
- For suede linings, a cloth dipped in white vinegar can lift dirt and marks; let it air dry.
- Don't drop or throw your belt, which can damage the buckle.
Frequently asked questions
Should a lifting belt go above or below the belly button?
Most lifters wear it around the belly button for squats. For deadlifts, many move it slightly up or down so it doesn't dig in. Use the position where you can brace hardest comfortably.
How tight should a weightlifting belt be?
Tight enough that you can just slide a flat hand in when relaxed, and firm once you brace. If you can't take a full breath, it's too tight.
Should beginners wear a lifting belt?
Beginners can use a belt for heavy sets once they've learned basic technique. Read our beginner's guide to lever belts for more.
Do I wear a belt for bench press?
Most lifters don't need one for bench press, although some powerlifters wear one to help keep their torso tight. It's a personal choice.
Find your belt
Once you know your size and how you train, choosing a belt is easy. Compare lever, prong and self-locking belts, see our picks for the best weightlifting belts in Pakistan, or browse the full weightlifting belt collection.

Share:
How to Use a Dip Belt for Weighted Dips and Pull-Ups
Weightlifting Belt Price in Pakistan (2026): What You Get at Each Price